Please refer to the below steps:
1,Check if the Schedule Record is a 24*7 timing recording
(if it is motion recording policy, it will only trigger a temporary recording when motion is detected )
2,Check the log records at correspond timestamp at System Maintenance on Main menu,
choose all type and find what happened before and after the interrupt point of record,
Generally ,a recording will stop when : Device turn off, Abnormal power off, Manual operation, Motion detect, IP channel offline.
Following are the reasons for your reference:
1.Video signal is too weak due to the loose of connection between Video input cable and the video input connector on device back mainboard,
please check if the connection is fastened.
2.The format of video input and output is not matched.please move the mouse to the bottom of the toolbar and click the “video signal”button,
set the correct “CVBS output format”,generally, PAL is in China
3.Video signal attenuation due to transmission distance or cable damage
1. go to setting->local->download config
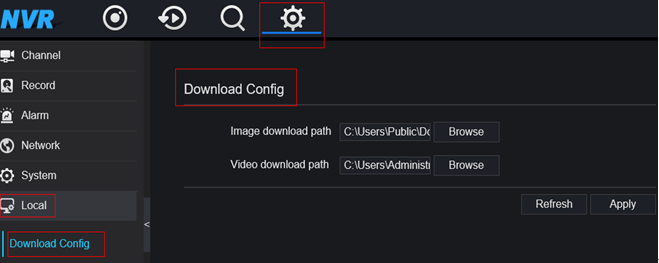
2. the set the paths here.
To avoid password loss, here are three functions in Security Center:
1. Password
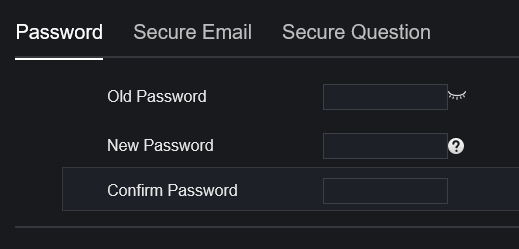
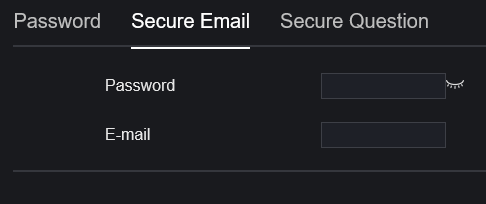
2. Secure Email
Password: it's the login password
E-mail: available Email
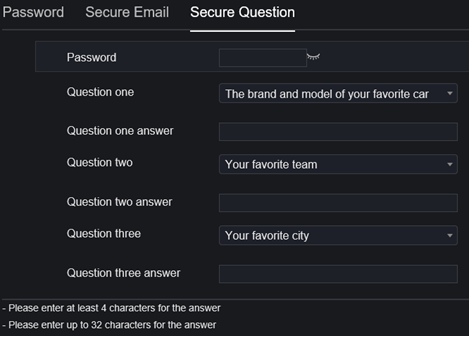
3. Secure Question
Password: it's the login password
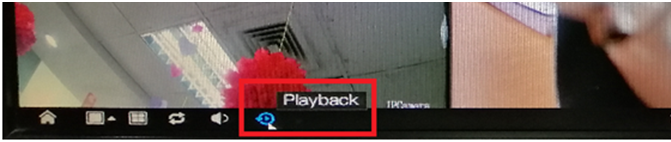
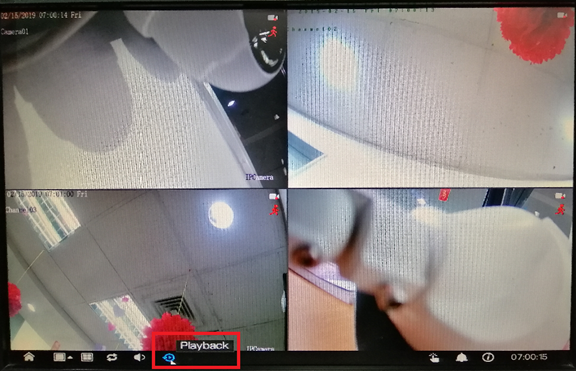
1. Go to the Playback menu on the device’s GUI. It can be found on the task bar at the bottom of the screen when on live view.
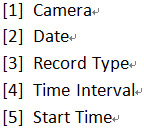
2. On Time Search, select the specific recording that you want to back up. Select your preferred:
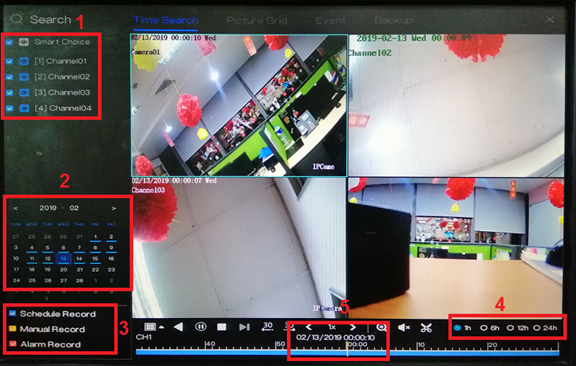
3. After selecting the specific time, click the  icon (Start Backup) to start the backup process.
4. Drag the timeline to until when you would like to back up the recordings. The yellow bar indicates the timeframe of the recording that you will be downloading.

5. After selecting the specific timeframe of recording, click the  (End Backup) icon to save the recording.
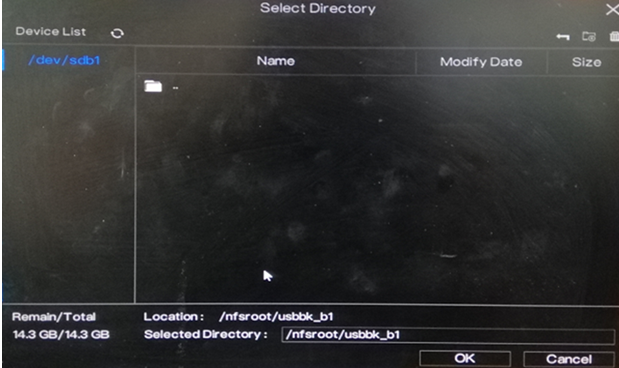
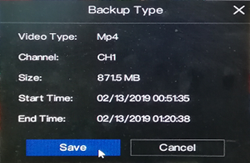
6. There will be pop-up message regarding the backup information and an option to save. Click Save to proceed.

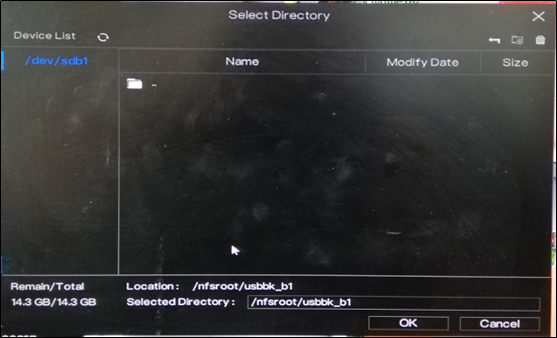
7. Select the specific folder in the USB flash drive directory and then click OK.
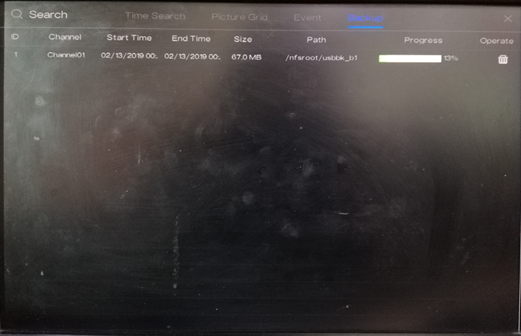
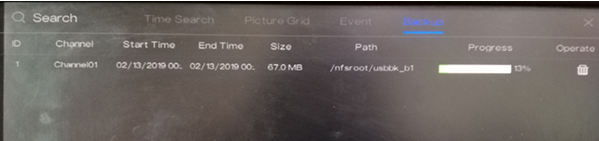
8. You can view the backup status in the Backup menu.
1. Enter the IP address of your NVR on the IE Tab’s address bar. You may now log in to your device using Chrome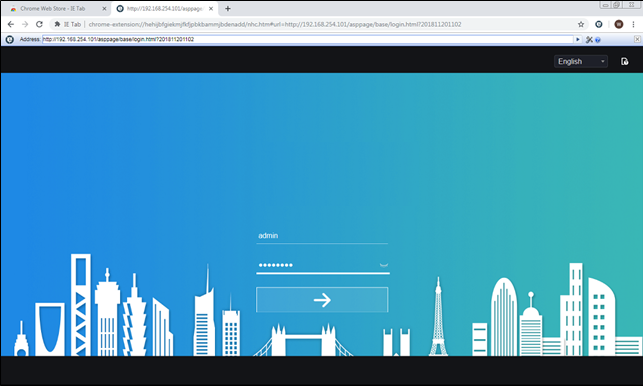
2. After clicking ‘Allow…’, you will be prompted with another message as shown below. Select ‘Allow and Remember’.
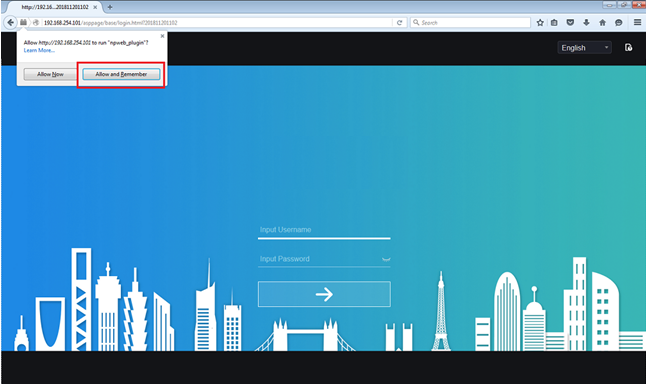
3. You may now log in to your device.

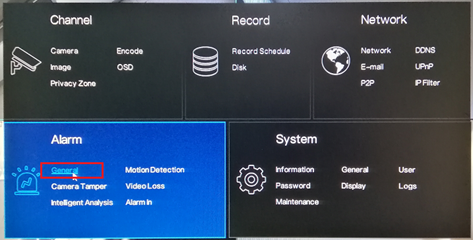
1. Click the right mouse button and select General under Alarm.
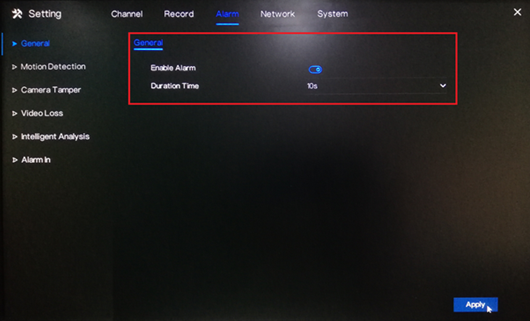
2. Turn on the Enable Alarm option and select a Duration Time from the drop-down list. Click Apply to save the settings.
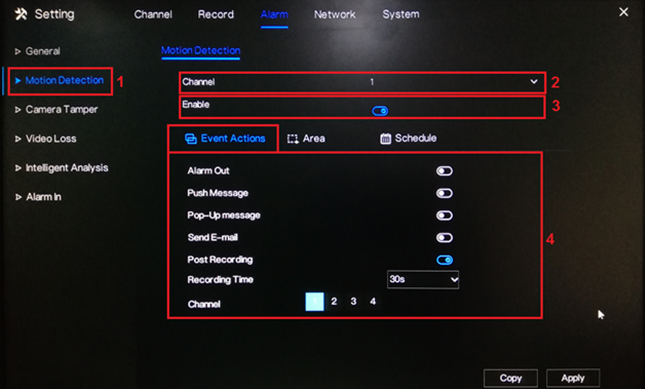
3. Go to Motion Detection. Under Channel, select a specific channel you would like to set the motion detection recording. Turn on the Enable option.
Under Event Actions, turn on the specific action you would like to have if there is a motion detected by the device. To ensure that the device will record when there is a motion detected; don’t forget to turn on Post Recording, select a Recording Time and select the corresponding channel under Channel.
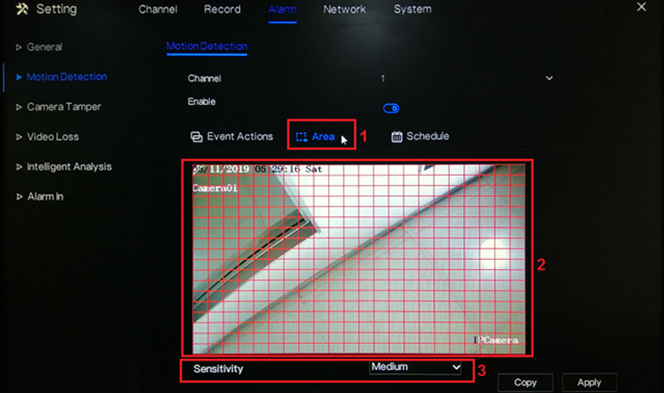
4. To configure the motion area and sensitivity, go to Area.
On the live preview on the page, you may select the motion area. Click the left mouse button on the live preview and drag the mouse on the specific area that you would like to set. The red grids represent the area that you have selected. To clear the area, just perform a double-click action using the left mouse button.
Select a Sensitivity option from the drop-down list. You may select from Low, Medium, High and Highest.
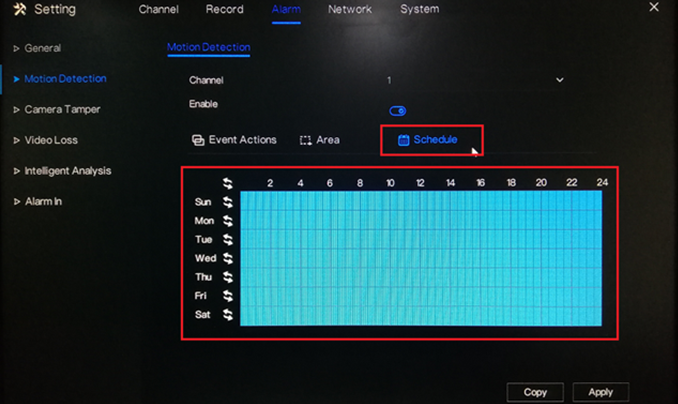
5. Under the Schedule setting, select the specific day and time that you would like to detect the motion. Use the left mouse button to select a specific box. You may also hold down and drag the left mouse button to select a wider schedule. To select all the boxes (24/7 by motion recording), just click the icon on the upper left corner. You may also click the same icon to clear the schedule.
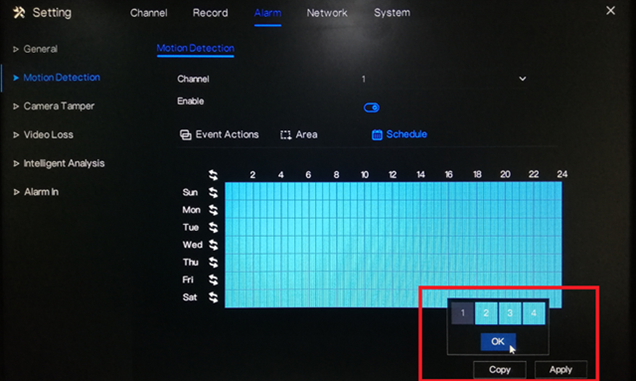
6. Click Apply to save the settings.
7. If you would like to copy the motion detection settings to the other channels, click Copy and select the specific channel you would like to copy the setting. Click OK then Apply to save the changes.
1. Go to the Playback menu on the device’s GUI. It can be found on the task bar at the bottom of the screen when on live view.
2. On Time Search, select the specific recording that you want to back up. Select your preferred:
Camera,Date,Record Type,Time Interval,Start Time

3. After selecting the specific time, click the  icon (Start Backup) to start the backup process.
4. Drag the timeline to until when you would like to back up the recordings. The yellow bar indicates the timeframe of the recording that you will be downloading.

5. After selecting the specific timeframe of recording, click the (End Backup) icon to save the recording.
6. There will be pop-up message regarding the backup information and an option to save. Click Save to proceed.
7. Select the specific folder in the USB flash drive directory and then click OK.
8. You can view the backup status in the Backup menu.